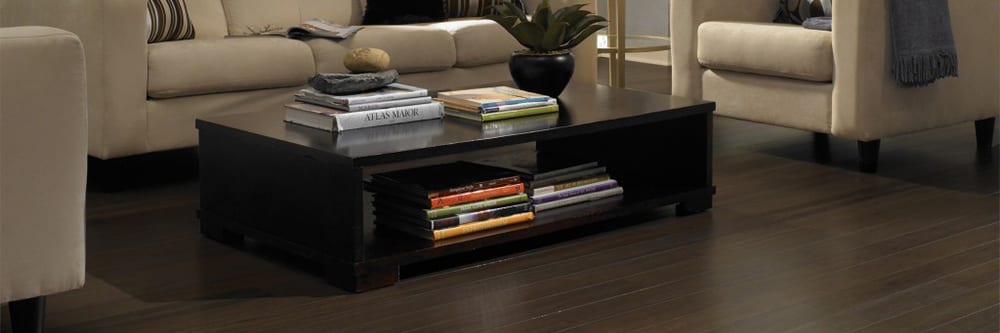
Award winning bamboo flooring, completely non-toxic, formaldehyde free, zero VOC, and third-party certified to be safe, durable, and eco-friendly.
Solid, engineered, strand-woven, hand-scraped, dyed, nail, glue, or float.
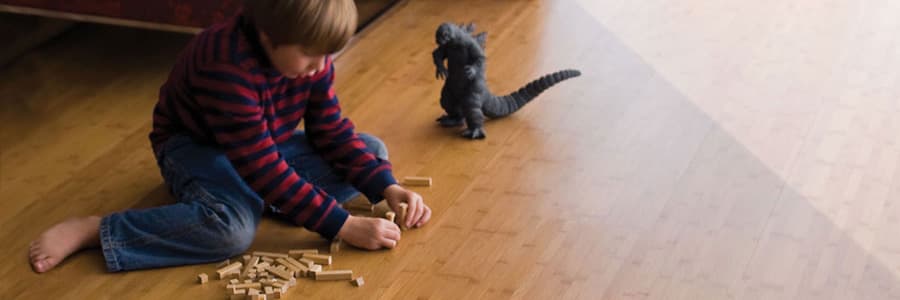
Well begun is half done. Our non-toxic underlayment and adhesive includes noise and moisture barriers, and underlayment for floating floors.
Bamboo Flooring
Award winning bamboo flooring, completely non-toxic, formaldehyde free, zero VOC, and third-party certified to be safe, durable, and eco-friendly.
Solid, engineered, strand-woven, hand-scraped, dyed, nail, glue, or float.
Well begun is half done. Our non-toxic underlayment and adhesive includes noise and moisture barriers, and underlayment for floating floors, and installation tools/accessories
Award winning bamboo flooring, completely non-toxic, formaldehyde free, zero VOC, and third-party certified to be safe, durable, and eco-friendly.
Solid, engineered, strand-woven, hand-scraped, dyed, nail, glue, or float.
Well begun is half done. Our non-toxic underlayment and adhesive includes noise and moisture barriers, and underlayment for floating floors.
Bamboo Flooring
Bamboo Flooring
Award winning bamboo flooring, completely non-toxic, formaldehyde free, zero VOC, and third-party certified to be safe, durable, and eco-friendly.
Solid, engineered, strand-woven, hand-scraped, dyed, nail, glue, or float.